For more photos of the interview, visit http://staceyviera.zenfolio.com/wholefoodschefinterview
By: Stacey Viera
Sorry to start off this post about meat with such a disappointing quotation. But it wouldn’t be Every Food Fits without a responsible-eating message, so let’s get that out of the way up front.
You may remember that Every Food Fits profiled Chef Michael a few weeks ago – see Part I and Part II of that interview – and readers seemed to love his tips. After I came home with pages and pages of notes, I decided to ask the chef if he would entertain the idea of walking me through each department at Whole Foods to teach us how to shop and cook like a chef. Good news: he’s enthusiastic about culinary education and happily accepted. In fact, I created a category just for him called “Kiss the Cook!”
Though many people grill throughout the year, summertime is a great opportunity to discuss grilling. Since this series is all about the basics of cooking, we’re talking about getting meat and poultry on the grill. Meat and charcoal, they go together like peas and carrots.
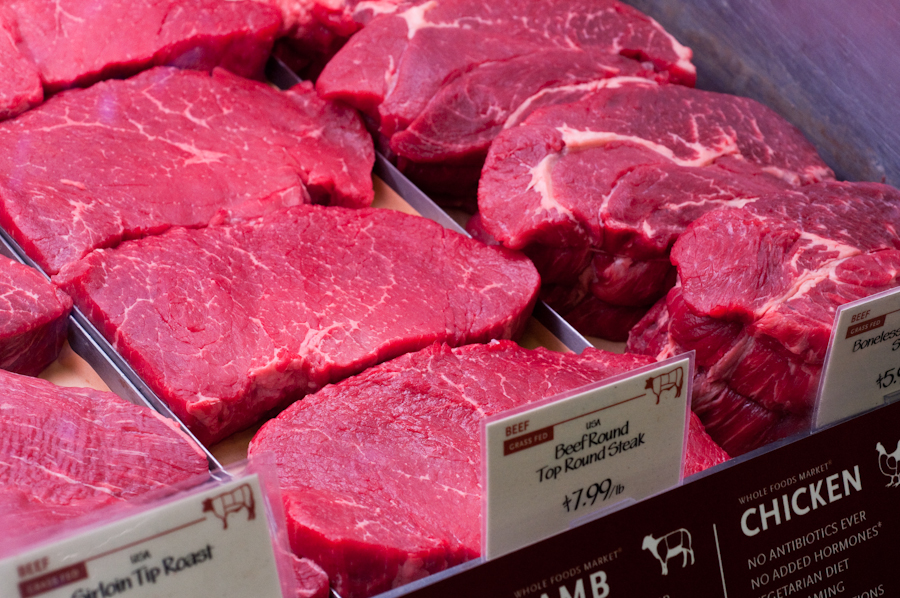
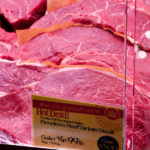
The first thing I noticed at the counter was the huge locker for “dry aged beef.” Other than the significant price difference, I wasn’t sure what makes that beef so special.
Kiss said, “Dry aged beef comes in grades such as prime, choice and select. A freshly killed cow is almost inedible. The cow works his muscles and needs to go through an enzyme process to break down the connective tissue. Beef is held 21 to 30 days to dry age and makes the process more expensive.”
Predictably, the faster, more cost-efficient process for tenderizing beef is – you guessed it! – wet aging. Beef is wet aged in vacuum-sealed bags. And this is just the beginning when it comes to the variety of choices on can make at the meat counter.
Corn-fed beef is what we’re most familiar with at the store, the meat with intramuscular marbling. Now grass-fed beef is becoming more common. Kiss said, “Grass-fed beef is so much more ruby red, and it has 70 percent less fat and cholesterol than conventionally fed beef.”
At my Whole Foods in Arlington, Va., the price difference between corn- and grass-fed beef is negligible, and Kiss warned that it cooks differently from corn-fed cuts. He recommends that if you usually like a rare steak, cook a grass-fed steak to medium. Speaking of cooking temps, generally, the higher price you pay for meat, the better the cut, and the more rare it should be eaten. Kiss said that cuts like chuck blade are more for stews, barbecue, or any other method where you cook it long and slow.
But how is one to tell when something is cooked to temperature? Kiss said, “The worst thing to do is ‘nip and peek’ with meat. That’s what it’s called in the restaurant business when you cut open a piece of meat. When it’s actively cooking, it’s like a water balloon. Don’t let the juices run out.”
So how can we tell if the meat is done without “nip and peek” method? Kiss mentioned a couple of restaurant tricks. You can grab the steak in the middle with tongs and hold it up. Depending on how much it does or doesn’t droop will reveal doneness of the steak. The more stiff the steak, the more likely it’s well done. There’s also the “palm trick” that you can see in this video at the 3 minute 30 second mark.
Here’s Chef Michael’s step-by-step primer for cooking meat on the grill:
1) Season – start with salt and pepper. If I’m paying for premium beef, I don’t marinate. Let the flavor come through. Let the steak sit out of the refrigerator about 30 minutes before cooking. Allowing it to get to room temperature will allow for even heat distribution in the cooking process. Never thaw frozen meat out of the refrigerator.
2) Heat the grill to 500-600 degrees Fahrenheit, and let it get totally hot. Look at the grill as an oven, open and close it sparingly to preserve the heat.
3) Make sure the grill is hot, brush cold oil on the hot tines, close it and let it heat another two minutes.
4) For a New York strip steak, for example, go from high to medium-high heat and sear for two minutes on each side – side A and then side B. when flipping, find a new part of the grill and then sear the other side.
5) Go back to side A and turn ¼ way to make grill marks, from a 10 o’clock to a 2 o’clock position. For a medium-rare cook for a 2-inch steak, it might take about five to six minutes or more on each side. Do the same on side B.
Tune in tomorrow for Part II to learn about how international flavors can spice up summer grilling! In the meantime, for more photos visit http://staceyviera.zenfolio.com/wholefoodschefinterview

[…] Part I of Chef Michael’s primer on meat. For more photos of the interview, visit […]